ADVERTISEMENT
ure cool completely before cleaning.
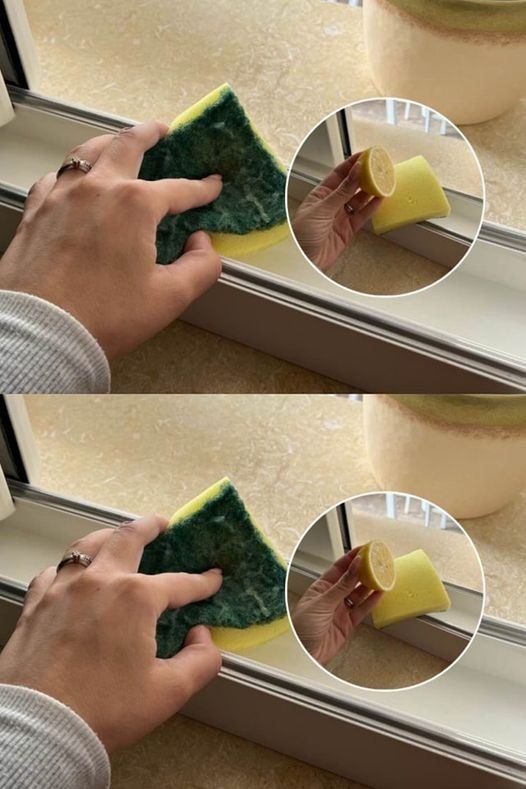
Step 2: Lightly Dampen the Sponge
Moisten the sponge in warm water with a splash of vinegar. Wring it out well—you want it damp, not dripping.
For Complete Cooking STEPS Please Head On Over To Next Page Or Open button (>) and don’t forget to SHARE with your Facebook friends
Step 3: Wipe the Surface Gently
Use the sponge to gently clean around the base, trim, and glass covers of the light fixture. The soft texture conforms to uneven surfaces and pulls dirt from crevices.
Step 4: Detail the Cracks
For deep or narrow cracks, use a cotton swab or soft toothbrush dipped in the same solution. Run it along the creases to lift hidden dust and grime.
Step 5: Dry and Buff
Finish by wiping the area with a dry microfiber cloth to remove any leftover moisture or streaks.
💡 Why This Works
- Melamine sponges act like micro-scrubbers without the need for chemicals.
- Microfiber grabs and holds onto dust rather than just pushing it around.
- Vinegar dissolves grease, especially useful for fixtures near kitchens.
🧠 Bonus Tip:
Use this technique on ceiling fan blades, under-cabinet lights, and even air vents—anywhere dirt collects in fine cracks and details. The sponge molds to contours and reaches into crevices without scratching or spreading dust.
✅ The Results:
- No more visible dirt in cracks
- Brighter, cleaner lighting
- Less airborne dust in the room
- Fixtures that look brand new
With just a sponge, some water, and a little patience, you can restore your lights to their original shine—no more dirt between the cracks, no more dull glow. It’s a small effort that makes a big difference in the look and feel of your space.
Would you like this article adapted for a DIY cleaning guide or a short video script?
ADVERTISEMENT