ADVERTISEMENT
🧼 Step-by-Step Guide:
1. Inspect the Roots
Gently remove your orchid from its pot and shake off old soil or bark. Rinse the roots to see which are still healthy (firm and green) and which are dead (brown, mushy, or dry).
2. Trim the Dead Roots
Use sterilized scissors to cut away all dead or rotting roots. Be generous — anything soft, blackened, or hollow must go. If needed, sprinkle a little cinnamon powder on the cut areas to prevent fungus.
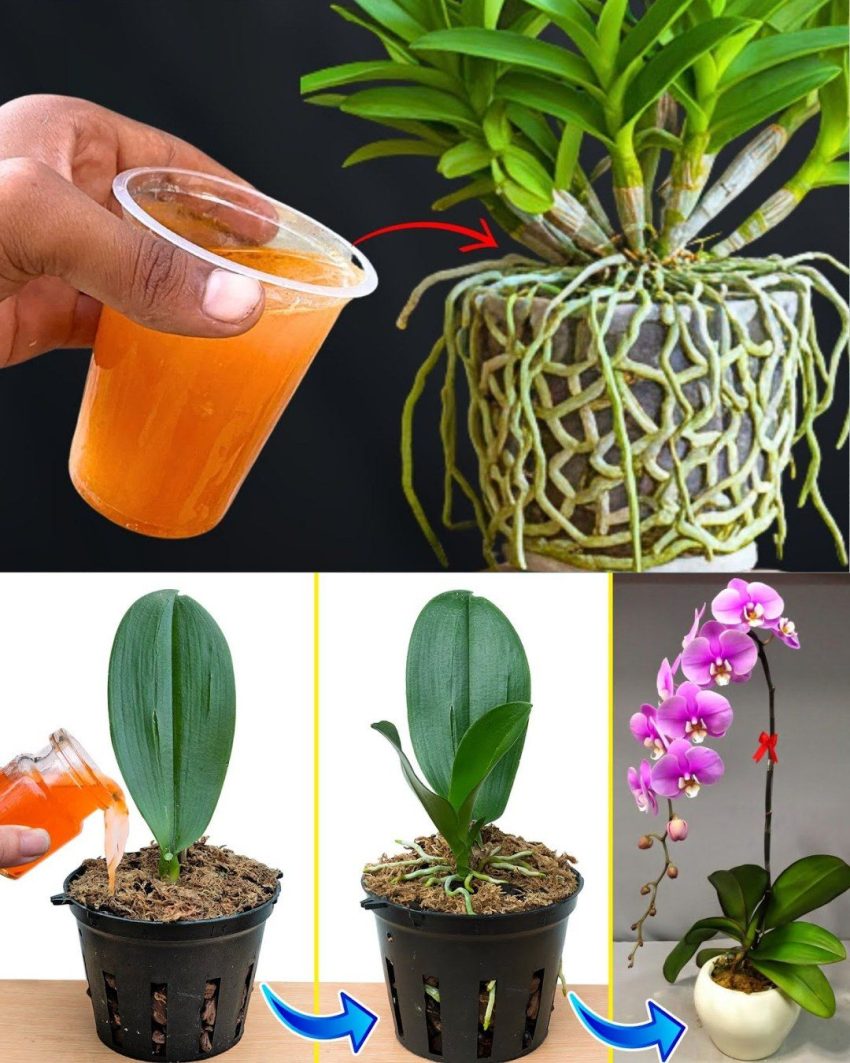
3. Water Bath Method
Place the orchid in a clean glass jar with just enough room temperature water to touch the bottom of the roots — not the stem or leaves. Keep only the healthy roots submerged. This allows the plant to absorb moisture while preventing stem rot.
4. Light & Patience
Put the jar in a warm, bright location with indirect sunlight — avoid harsh, direct sun. Change the water every few days to keep it fresh.
5. Wait for New Roots and Leaves
Over the next few weeks, your orchid should begin to grow new roots and perk up. Once new growth is visible, you can gently repot the orchid in fresh orchid bark or a moss blend.
🧠 Extra Tips for Orchid Recovery:
-
Orchids love humidity — placing a bowl of water nearby can help.
-
Never overwater! Let the medium dry slightly between waterings.
-
Fertilize monthly once new growth begins.
-
Don’t repot until the roots are strong and healthy again.
🌼 What to Expect:
With care and consistency, you may see new green roots and leaves forming in a few weeks. A reblooming orchid can take time, but when it rewards you with vibrant flowers again — it’s worth the wait!
Give your orchid a second chance — this revival method is gentle, natural, and truly effective. Your green thumb will be back in action in no time! 🌱
ADVERTISEMENT