ADVERTISEMENT
Understanding the Basics of Ginger Cultivation
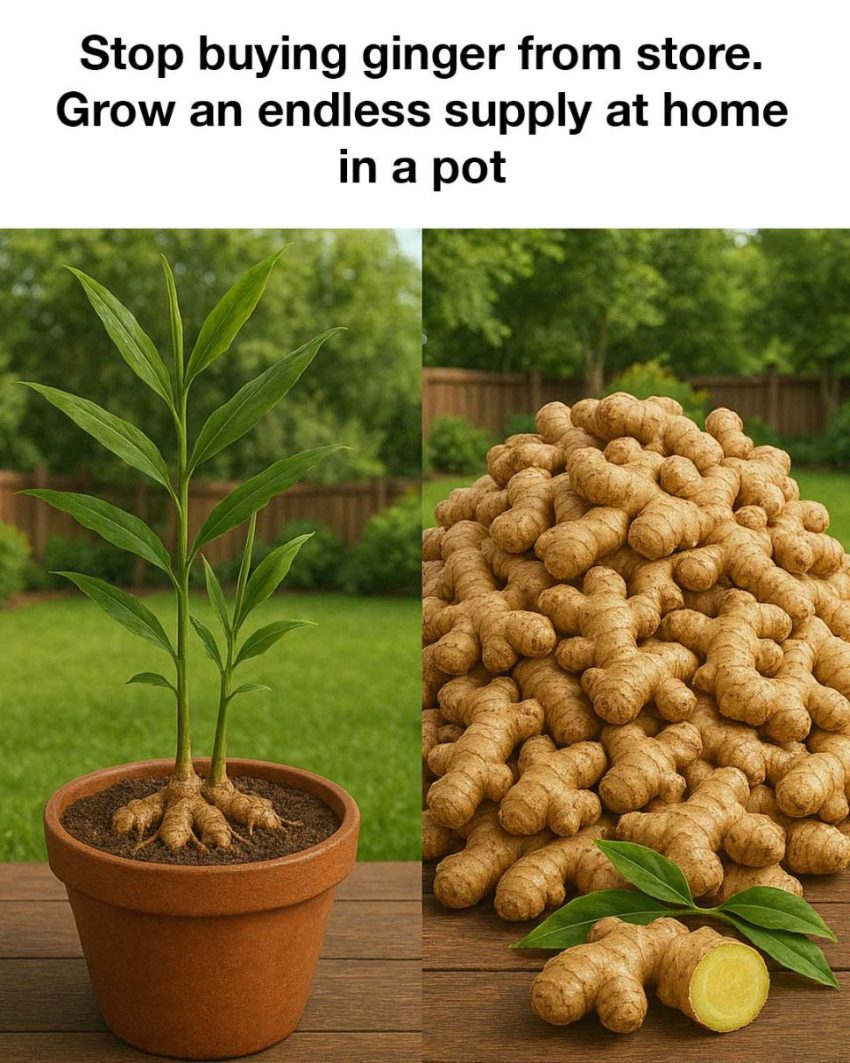
Ginger is a tropical plant that thrives in warm, humid conditions. It is grown from rhizomes, which are the thick, fleshy roots you find in stores. The plant requires well-draining soil, consistent moisture, and partial to full sunlight. Ginger is a slow-growing plant, taking about 8 to 10 months to mature, but with the right care, it can produce a generous yield.
Choosing the Right Ginger Variety for Pot Growing
When selecting ginger for pot cultivation, it’s important to choose a variety that is well-suited for container growth. Common culinary ginger (Zingiber officinale) is a popular choice, but there are also ornamental varieties like ‘Blue Hawaiian’ or ‘Baby Ginger’ that can be grown for their unique flavors and appearances. Opt for organic rhizomes from a reputable source to ensure they are free from growth inhibitors.
Selecting the Ideal Pot and Soil for Ginger
The pot you choose for growing ginger should be wide and shallow, as ginger roots spread horizontally. A pot with a diameter of at least 12 inches and a depth of 12 inches is ideal. Ensure the pot has adequate drainage holes to prevent waterlogging. Use a rich, well-draining potting mix, preferably one that is high in organic matter. Adding some sand or perlite can improve drainage.
Step-by-Step Guide to Planting Ginger in a Pot
To plant ginger, start by soaking the rhizomes in warm water overnight to encourage sprouting. Fill your pot with the prepared soil mix, leaving about an inch of space from the top. Place the rhizomes horizontally on the soil surface, with any visible buds facing upward. Cover them with 1-2 inches of soil. Water the pot thoroughly and place it in a warm location with indirect sunlight.
Caring for Your Potted Ginger Plant
Ginger requires consistent moisture, so water the plant regularly, ensuring the soil remains damp but not soggy. During the growing season, feed the plant with a balanced liquid fertilizer every few weeks to promote healthy growth. Keep an eye out for pests like aphids or spider mites, and address any infestations promptly. As the plant grows, you may need to stake it to provide support.
Harvesting Your Homegrown Ginger
Ginger can be harvested once the plant is mature, typically 8 to 10 months after planting. Look for signs like yellowing leaves and reduced growth. Carefully dig around the base of the plant to expose the rhizomes. You can harvest the entire plant or just a portion of the rhizomes, allowing the plant to continue growing. Rinse the harvested ginger thoroughly and let it dry before use.
Troubleshooting Common Ginger Growing Problems
Common issues when growing ginger include root rot, which is caused by overwatering, and pest infestations. To prevent root rot, ensure proper drainage and avoid waterlogged soil. For pests, use natural remedies like neem oil or insecticidal soap. If the plant shows signs of nutrient deficiency, such as yellowing leaves, adjust your fertilization routine accordingly.
Tips for Ensuring a Continuous Supply of Ginger
To maintain a steady supply of ginger, practice staggered planting by starting new rhizomes every few months. This way, you can harvest ginger at different times throughout the year. Additionally, save a portion of your harvest to replant, ensuring you always have fresh rhizomes ready to grow.
Conclusion: Enjoying Your Homegrown Ginger
Growing ginger at home in a pot is a fulfilling endeavor that provides a continuous supply of fresh, aromatic ginger. Whether you’re using it to spice up your culinary creations or enjoying its health benefits, homegrown ginger is a testament to the joys of gardening. With a little patience and care, you can enjoy this versatile spice year-round, right from your own home.