ADVERTISEMENT
1. Why Growing Mint at Home Is a Great Idea
Growing mint at home offers several advantages. Firstly, it provides a constant supply of fresh mint leaves, which can be used for cooking, garnishing, or making refreshing beverages like mint tea or mojitos. Additionally, home-grown mint is free from pesticides and other chemicals often found in store-bought herbs, ensuring a healthier option for consumption.
Moreover, mint is a hardy plant that grows quickly, making it an ideal choice for beginner gardeners. With the right conditions, mint can grow up to 4 inches per month, providing ample leaves for your culinary needs. By growing mint at home, you also reduce waste, as you can harvest only the amount you need, unlike store-bought bunches that may spoil before use.
2. Understanding the Benefits of Hydroponic Mint
Hydroponic gardening, or growing plants in water without soil, offers several benefits for mint cultivation. This method allows for precise control over water and nutrient levels, leading to healthier and faster-growing plants. Hydroponic systems can also be set up indoors, making them perfect for urban dwellers or those with limited outdoor space.
Additionally, growing mint hydroponically reduces the risk of soil-borne diseases and pests, which can be a common issue with traditional soil gardening. The transparency of a glass container also allows you to monitor root health and growth, ensuring that your mint plant is thriving.
3. Choosing the Right Mint Variety for Indoor Growth
There are several varieties of mint, each with its unique flavor profile and growth characteristics. For indoor hydroponic growth, peppermint (Mentha × piperita) and spearmint (Mentha spicata) are popular choices due to their robust growth and aromatic leaves.
Peppermint is known for its strong menthol flavor, making it ideal for teas and desserts, while spearmint has a milder, sweeter taste, perfect for savory dishes and cocktails. When selecting a mint variety, consider your culinary preferences and the plant’s growth habits to ensure a successful indoor garden.
4. Gathering Essential Materials for Mint Propagation
To start growing mint in water, you’ll need a few basic materials: a healthy mint plant or fresh mint cuttings, a glass container, and clean, room-temperature water. Ensure the container is clear to allow light penetration and root observation.
It’s also helpful to have a pair of sharp scissors or pruning shears for cutting mint stems. If you plan to transition your mint to soil later, you’ll need a pot and potting mix, but these are not necessary for the initial hydroponic setup.
5. Preparing Your Glass Container for Mint Growth
Choose a glass container that is tall enough to support the mint cuttings without submerging the leaves. A mason jar or a small vase works well for this purpose. Clean the container thoroughly to remove any residues or contaminants that could harm the mint cuttings.
Fill the container with clean, room-temperature water, leaving about an inch of space from the rim to prevent overflow when adding the cuttings. It’s important to use non-chlorinated water, as chlorine can inhibit root growth. If tap water is your only option, let it sit for 24 hours to allow the chlorine to dissipate.
6. Selecting and Preparing Mint Cuttings
Select healthy mint stems from an existing plant or purchase fresh mint from the store. Look for stems that are about 4-6 inches long with several sets of leaves. Using sharp scissors or pruning shears, cut the stems just below a node, which is the point where leaves attach to the stem.
Remove the leaves from the lower half of the cutting to prevent them from rotting in the water. This also encourages root growth from the nodes. If you’re using store-bought mint, ensure the stems are fresh and not wilted for the best chance of successful propagation.
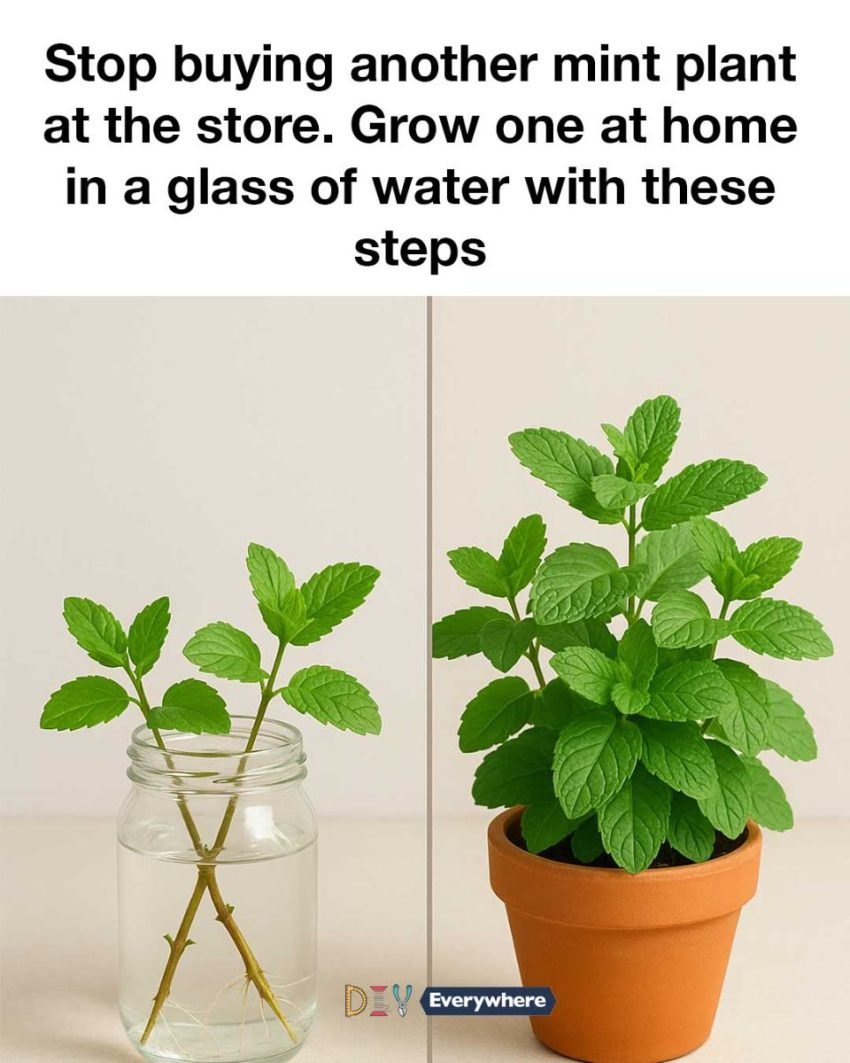
7. Placing Mint Cuttings in Water for Root Development
Place the prepared mint cuttings in the glass container, ensuring the nodes are submerged in water while the leaves remain above the waterline. This positioning is crucial for root development and prevents leaf rot.
Position the container in a location that receives indirect sunlight, such as a windowsill with a sheer curtain. Direct sunlight can be too harsh and may cause the water to heat up, which can damage the cuttings. Within a week or two, you should begin to see roots emerging from the nodes.
8. Ensuring Optimal Light and Temperature Conditions
Mint thrives in bright, indirect light, making a north or east-facing window ideal for its growth. If natural light is insufficient, consider using a grow light to provide the necessary illumination for at least 6-8 hours a day.
Maintain a consistent temperature between 65-75°F (18-24°C) for optimal growth. Avoid placing the container near drafts or heating vents, as sudden temperature changes can stress the plant and hinder root development.
9. Monitoring Water Levels and Quality
Regularly check the water level in your glass container to ensure the nodes remain submerged. Top up the water as needed, but be careful not to overfill, as this can lead to leaf rot.
Change the water every 5-7 days to prevent stagnation and algae growth. Use room-temperature, non-chlorinated water for each change. If you notice any cloudiness or an unpleasant odor, clean the container thoroughly before refilling it with fresh water.
10. Recognizing and Addressing Common Growth Issues
While mint is generally easy to grow, you may encounter some common issues. If the leaves start to yellow, it may indicate a lack of nutrients or insufficient light. Ensure your mint is receiving adequate light and consider adding a diluted hydroponic nutrient solution to the water.
If you notice mold or algae growth, it could be due to stagnant water or excessive light. Clean the container and adjust the light exposure as needed. Regular maintenance and observation will help you address these issues promptly and keep your mint healthy.
11. Transitioning Mint from Water to Soil (Optional)
If you wish to transition your mint from water to soil, wait until the roots are at least 2 inches long. Choose a pot with drainage holes and fill it with a well-draining potting mix. Make a small hole in the soil and gently place the rooted cutting, covering the roots completely.
Water the plant thoroughly after transplanting and place it in a location with indirect sunlight. Gradually acclimate the mint to its new environment by slowly increasing its exposure to direct sunlight over a week. This transition allows the mint to adapt to soil conditions and continue thriving indoors or outdoors.