ADVERTISEMENT
Step 1: Preheat the Oven
Preheat your oven to 350°F (175°C) . Grease a donut pan or line it with nonstick spray to prevent sticking.
Step 2: Make the Batter
In a large mixing bowl, whisk together the flour, sugar, baking powder, and salt.
In a separate bowl, whisk together the milk, egg, melted butter, and vanilla extract until smooth.
Pour the wet ingredients into the dry ingredients and stir gently until just combined. The batter will be thick but smooth. Avoid overmixing to keep the donuts light and tender.
Step 3: Fill the Donut Pan
Spoon the batter into a piping bag or a zip-top bag with the corner snipped off. Pipe the batter evenly into the prepared donut pan, filling each cavity about 3/4 full.
Step 4: Bake
Bake for 8–10 minutes , or until the donuts spring back when lightly touched and a toothpick inserted into the center comes out clean.
Let the donuts cool in the pan for 2–3 minutes , then transfer them to a wire rack to cool completely before glazing.
Step 5: Make the Glaze
In a small bowl, whisk together the powdered sugar, milk, and vanilla extract until smooth. Adjust the milk for a thinner glaze or add more powdered sugar for a thicker consistency.
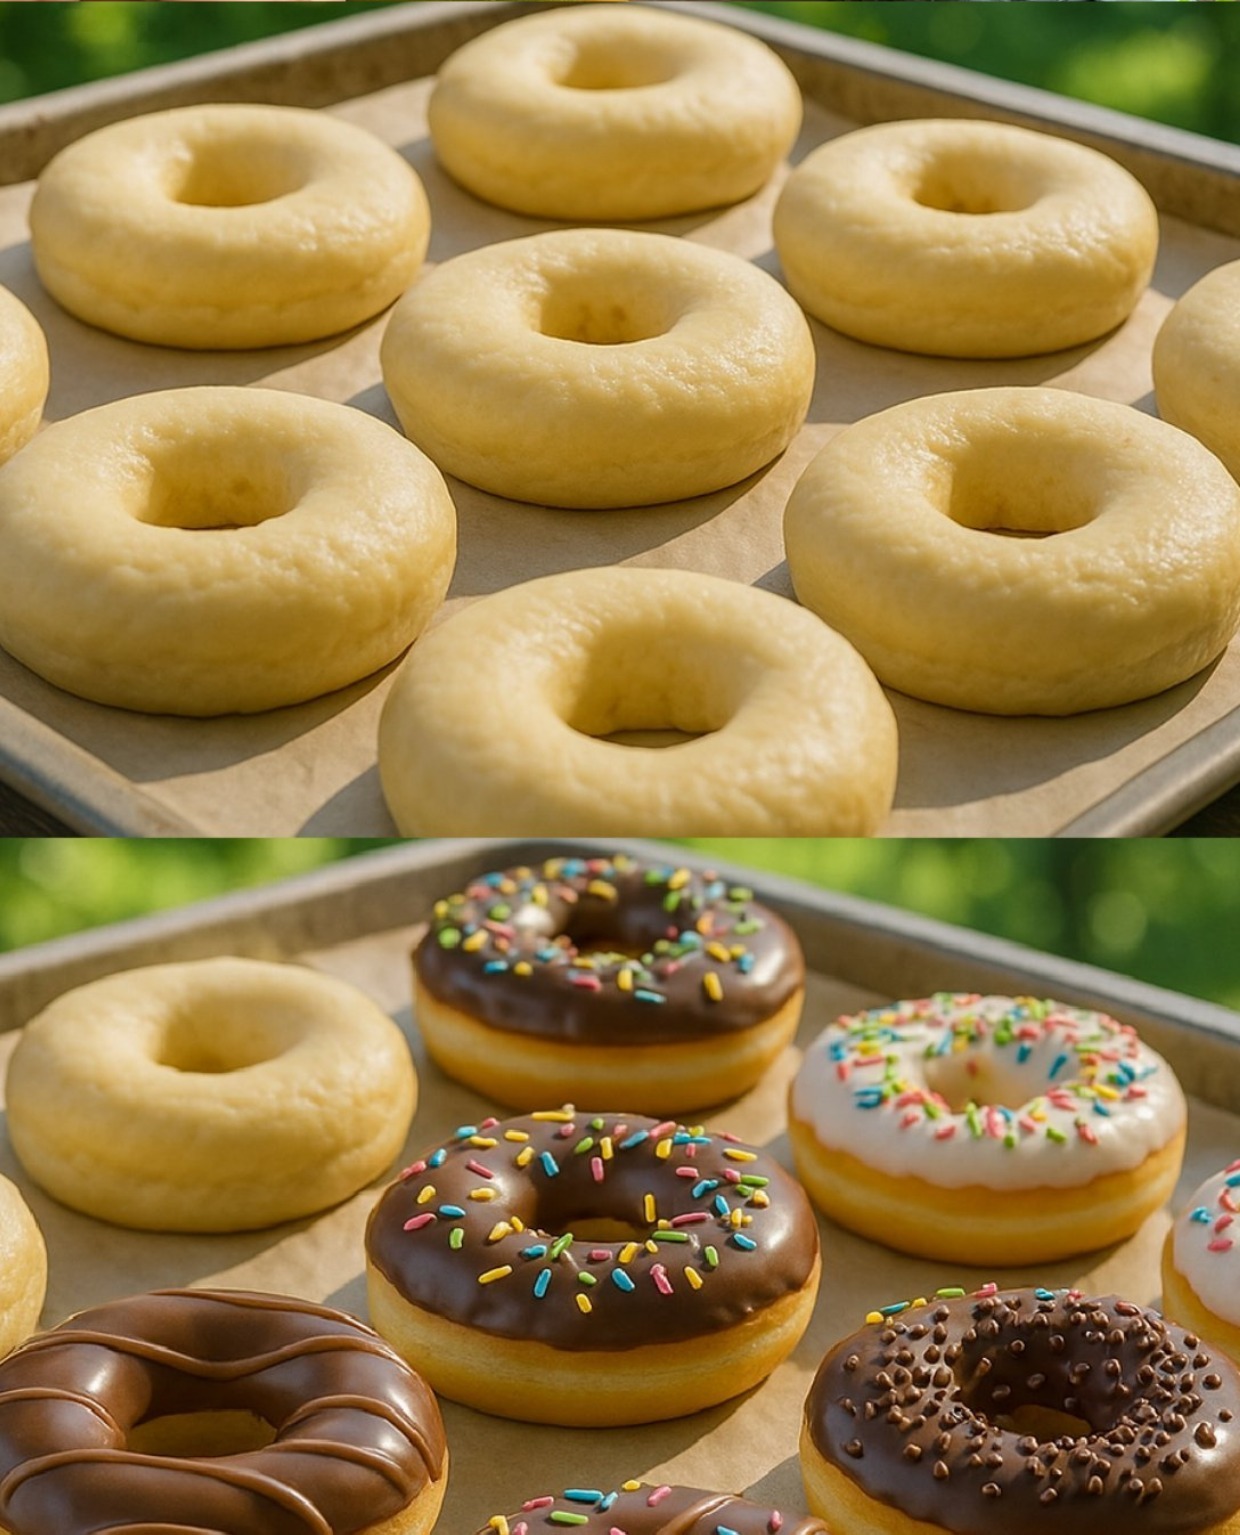
Dip the cooled donuts into the glaze or drizzle it over the top. Add sprinkles, chopped nuts, or other toppings while the glaze is still wet.
Why This Recipe Works
Baking Powder Magic : Ensures the donuts rise beautifully without the need for yeast or kneading.
Melted Butter Base : Adds richness and moisture without weighing down the batter.
Simple Tools : A donut pan and piping bag make shaping easy, but you can also use a spoon if needed.
Variations to Try
Chocolate Donuts : Stir 2 tablespoons of cocoa powder into the batter for a rich chocolate base.
Spiced Donuts : Add cinnamon, nutmeg, or pumpkin spice for a cozy fall twist.
Gluten-Free Option : Substitute the all-purpose flour with a gluten-free flour blend.
Citrus Zing : Add lemon or orange zest to the batter and glaze for a refreshing burst of flavor.
Mini Donuts : Use a mini donut pan for bite-sized treats. Reduce baking time to 6–8 minutes .
Tips for Success
Don’t Overfill : Fill the donut cavities only 3/4 full to allow room for rising.
Cool Completely : Glaze the donuts only after they’ve cooled to prevent the glaze from melting.
Storage : Store leftover donuts in an airtight container at room temperature for up to 2 days.
Serving Suggestions
Romantic Touch : Garnish with edible flowers or microgreens for elegance.
Brunch Staple : Pair with coffee, tea, or fresh fruit for a complete meal.
Party Platter : Serve alongside muffins, scones, or croissants for variety.
Final Thoughts
These No-Knead Donuts (Baked, Not Fried) are a celebration of bold flavors, creamy textures, and effortless indulgence, offering a dish that feels luxurious yet approachable. With their customizable options, endless charm, and ease of preparation, they’re a recipe that’s sure to impress whether you’re cooking for a special occasion, a casual snack, or simply craving something satisfying.
Your Turn! Have you ever made baked donuts or experimented with no-knead recipes? Share your favorite variations or serving ideas below.
ADVERTISEMENT