ADVERTISEMENT
A Foolproof Recipe for Beginners & Pros
Introduction
Bread baking has been a cherished tradition for centuries, from ancient Egyptian flatbreads to today’s artisan sourdough. But let’s face it—baking bread can be intimidating. If you’ve struggled with dense loaves, overworked dough, or yeast disasters, don’t worry! This No-Knead Artisan Bread is foolproof, requires minimal effort, and gives you that bakery-style crust and fluffy interior. Whether you’re a beginner or an experienced baker, this recipe is for you!
History of No-Knead Bread
No-knead bread became widely known in 2006 when Jim Lahey, a baker from New York, introduced his revolutionary recipe in The New York Times. However, the concept dates back centuries—many traditional breads worldwide rely on long fermentation rather than kneading. This technique allows the yeast to develop deep, complex flavors over time.
Ingredients
3 ½ cups (450g) all-purpose or bread flour
2 teaspoons salt
½ teaspoon instant yeast
1 ½ cups (350ml) warm water
Optional Add-ins:
1 tablespoon honey for a slightly sweet flavor
1 teaspoon garlic powder for a savory kick
½ cup shredded cheese for a cheesy twist
Instructions & Methods
Step 1: Mixing the Dough
In a large mixing bowl, whisk together flour, salt, and yeast.
Pour in warm water and mix with a wooden spoon or spatula until you get a sticky dough.
Cover the bowl with plastic wrap or a kitchen towel and let it sit at room temperature for 12-18 hours (overnight).
Step 2: Shaping the Dough
After fermentation, the dough will be bubbly and soft.
Lightly flour a surface and turn the dough onto it.
Gently fold the dough over itself a few times to create a round shape.
Cover with a towel and let it rest for 30 minutes.
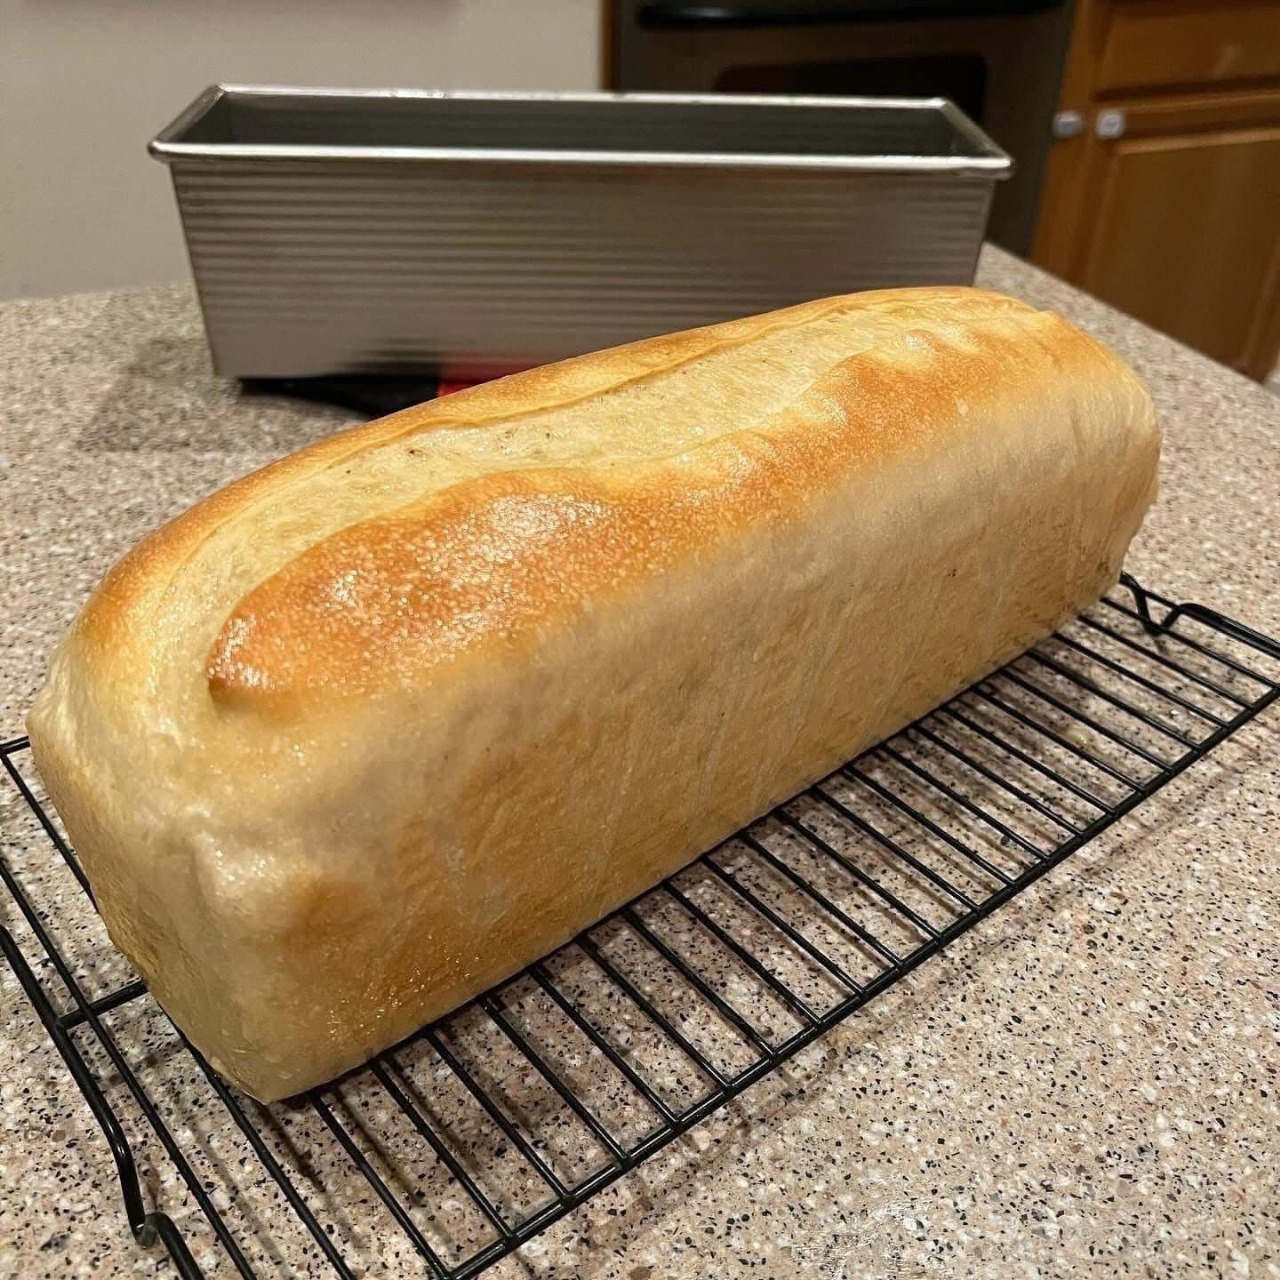
Step 3: Baking the Bread
Preheat your oven to 450°F (230°C). Place a Dutch oven (or a deep baking pot) inside while the oven heats.
Carefully transfer the dough to the hot Dutch oven. Cover with a lid and bake for 30 minutes.
Remove the lid and bake for another 10-15 minutes until golden brown.
Step 4: Cooling & Serving
Let the bread cool on a wire rack for at least 15 minutes.
Slice and enjoy with butter, olive oil, or your favorite spreads!
Benefits of No-Knead Artisan Bread
Easy & Minimal Effort – No kneading required!
Superior Flavor – Long fermentation gives a deep, rich taste.
Crispy Crust & Soft Interior – Perfect bakery-style texture.
No Special Equipment Needed – Just a bowl, spoon, and oven.
Healthy & Customizable – Add seeds, herbs, or whole grains
Minimal Effort, Maximum Reward – No kneading, no complicated steps—just mix, wait, and bake!
Bakery-Style Crust & Soft Interior – The long fermentation creates an airy, fluffy inside and a crispy golden crust.
Rich, Deep Flavor – Slow fermentation enhances the taste, giving a complex, slightly tangy flavor.
No Special Equipment Needed – No stand mixer or bread machine required. Just a bowl, spoon, and an oven.
Healthier Than Store-Bought Bread – No preservatives, artificial flavors, or additives. You control the ingredients!
Customizable – Add seeds, herbs, cheese, garlic, or whole wheat flour to suit your taste.
Digestibility & Gut Health – Slow fermentation breaks down gluten, making it easier to digest.
Affordable – Making your own bread costs a fraction of store-bought artisan loaves.
Great for Beginners & Experts – Whether you’re new to baking or a seasoned pro, this method is foolproof!
Nutritional Information (Per Slice, Approx.)
Calories: 130
Carbohydrates: 25g
Protein: 4g
Fat: 0.5g
Fiber: 1g
Here’s a breakdown of the nutrition for a typical slice of No-Knead Artisan Bread (based on a standard recipe made with all-purpose flour):
Calories: 130
Carbohydrates: 25g
Protein: 4g
Fat: 0.5g
Fiber: 1g
Sugar: 0g
Sodium: 250mg (depends on the salt used)
Additional Considerations
Continued on the next page
ADVERTISEMENT